在Hexo博客里更换主题

AI-摘要
Tianli GPT
AI初始化中...
介绍自己 🙈
生成本文简介 👋
推荐相关文章 📖
前往主页 🏠
前往爱发电购买
在Hexo博客里更换主题
小赵同学Claudia
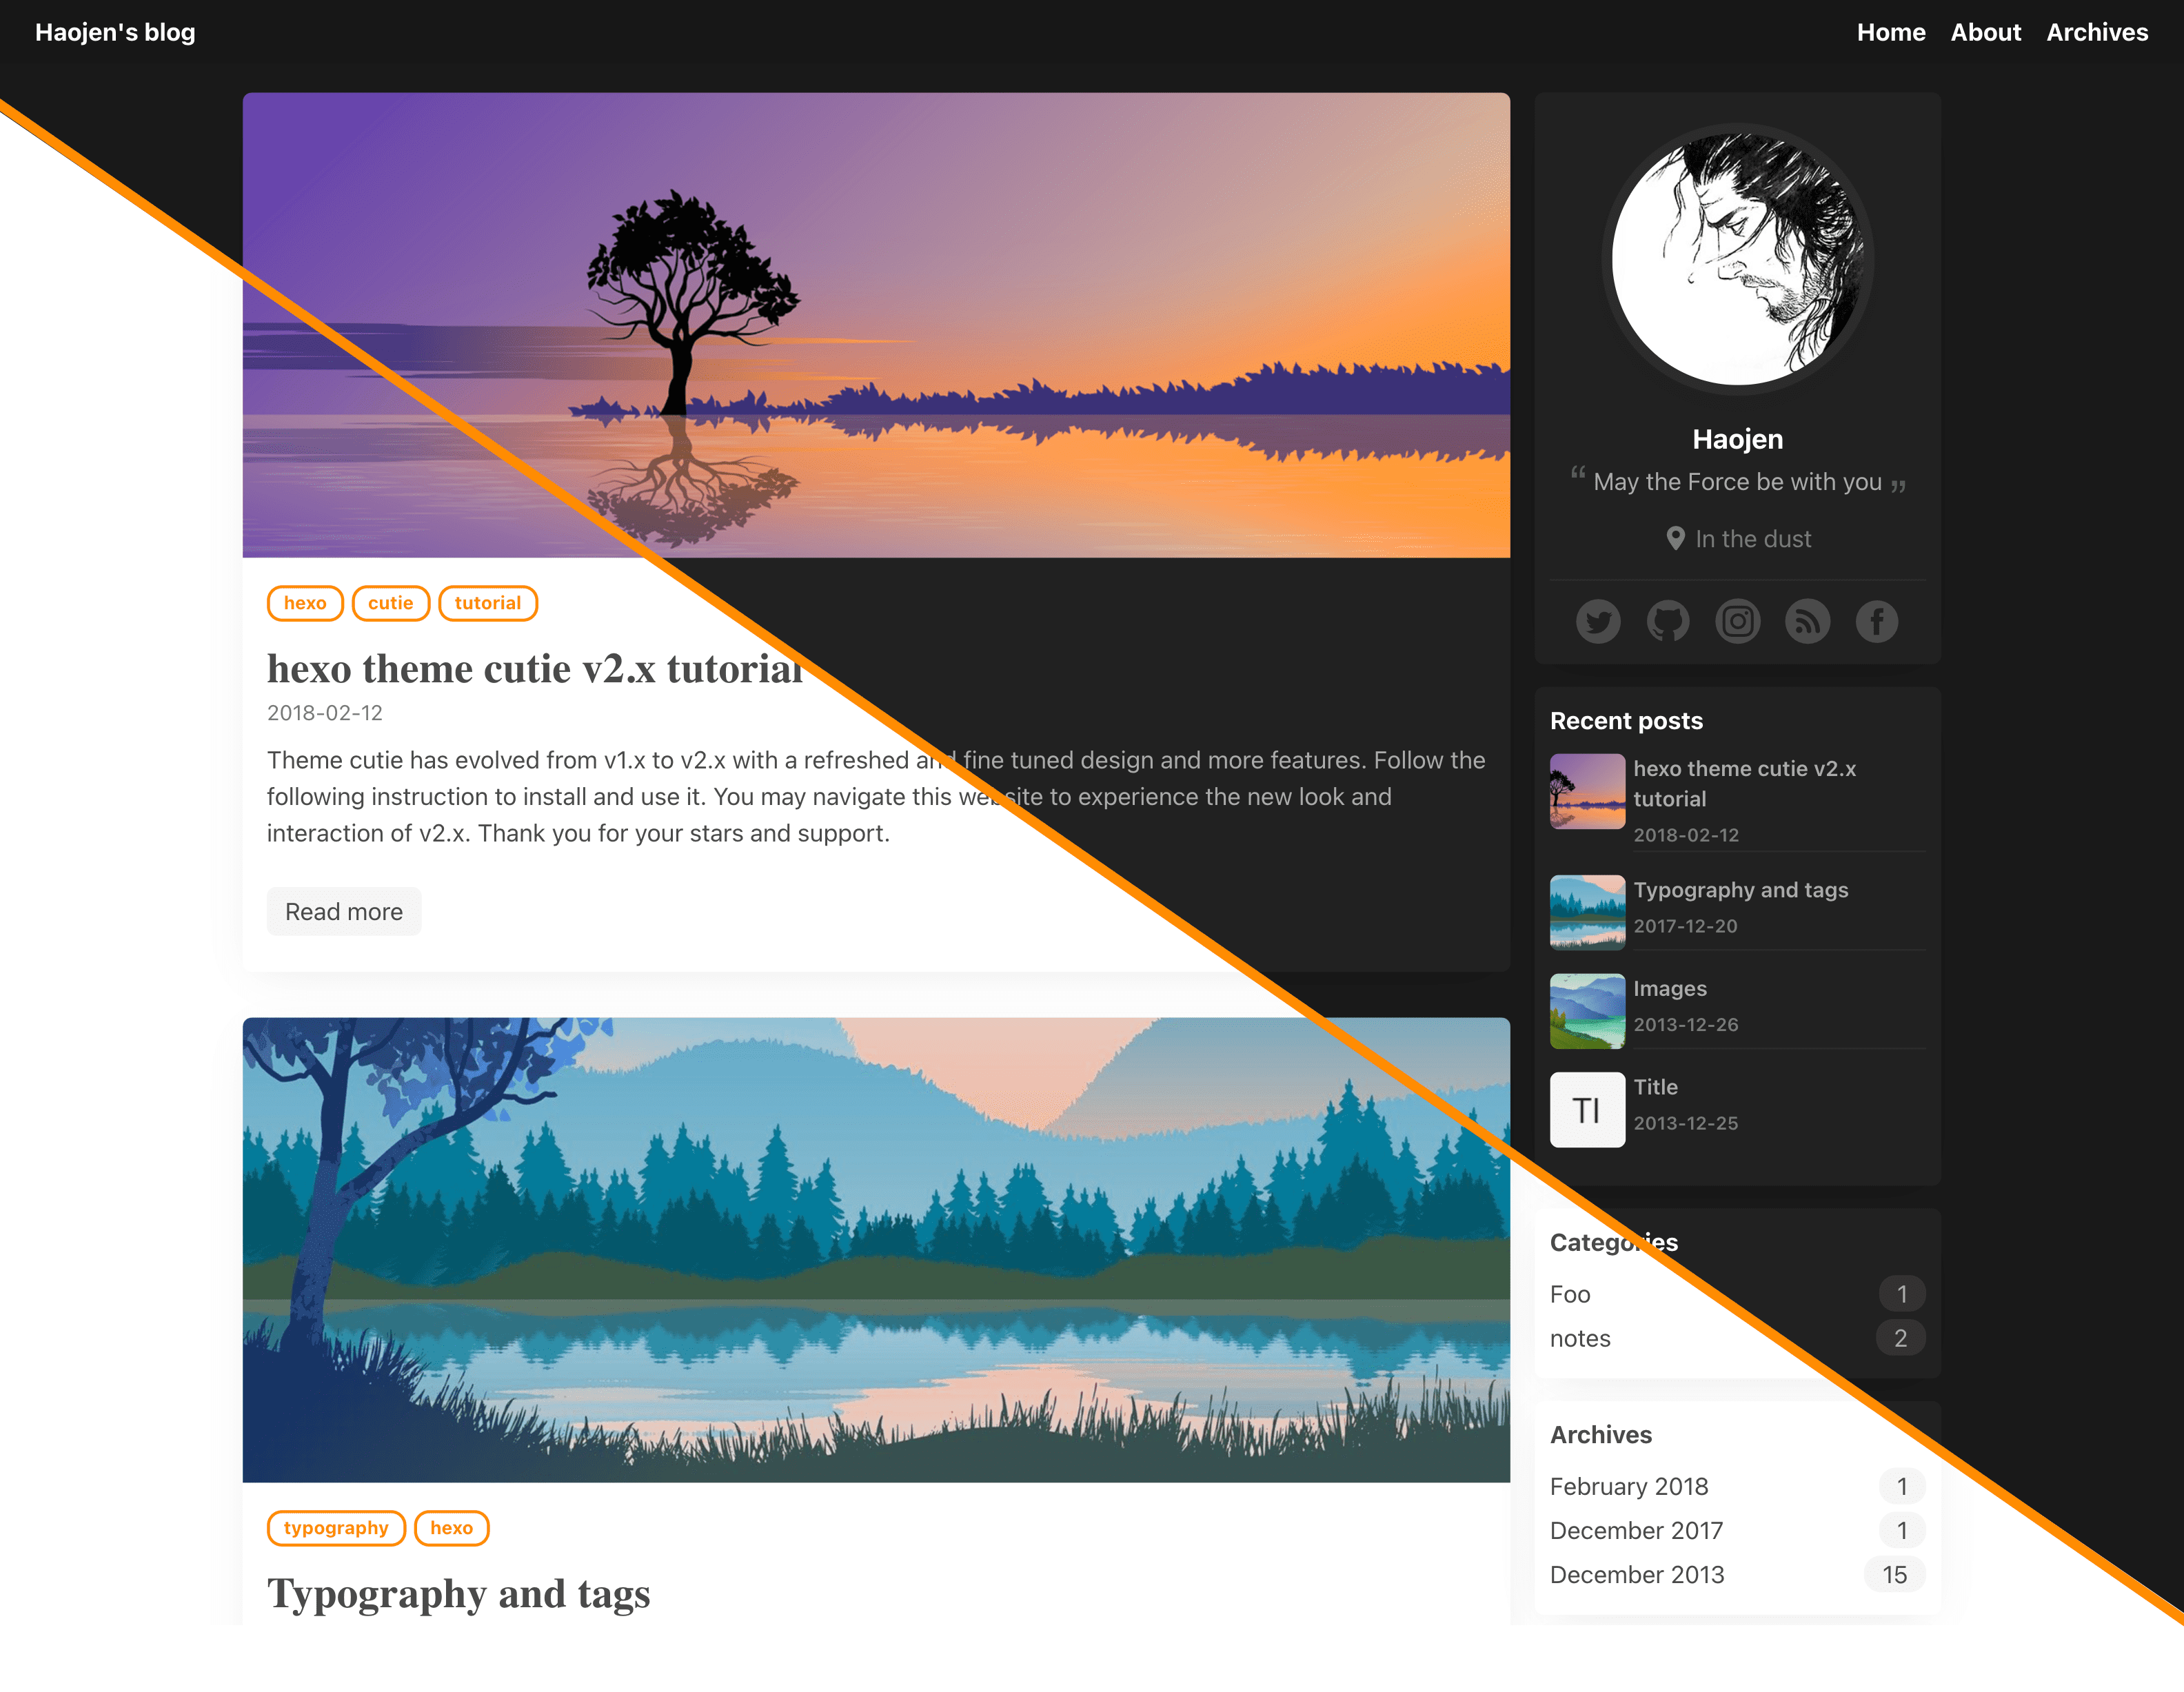
设计简洁 & 轻松上手, 跟随系统外观自适应, 90+ Lighthouse 得分
使用
依赖下载
进入到博客项目根目录下运行:
1 | #必要 |
用户信息配置
注意: 必须在主题的 _config.yml 中配置以下信息, 而非博客根目录下的 _config.yml
1 | user: |
配置导航栏右上角菜单项
1 | # main menu navigation |
边栏部件配置
1 | widgets: |
使用评论系统
1. Utteranc
对应文档地址: https://utteranc.es/
对应项目地址: https://github.com/utterance/utterances
1 | comment_utteranc: |
2. Valine
使用文档: https://valine.js.org/quickstart.html
1 | comment_valine: |
夜间模式设置
1 | # 1.light |
配置代码高亮
在theme主题目录下, 可以通过 _config.yml 文件(注意不是hexo根目录), 配置代码高亮的style, 步骤如下:
首先在您的hexo根目录下 _config.yml , 关闭内置的着色器:
1 | highlight: |
统计
配置谷歌和百度统计
1 | #Baidu Analytics** |
创建 About 页面
在博客根目录下的 source 文件夹里创建一个 about 文件夹, 然后打开该文件夹, 新建一个 index.md, 打开, 将下面这段文本复制到 index.md 里保存
1 |
|
范例项目展示
https://github.com/Haojen/Claudia-theme-blog
最后
如果遇到任何问题或反馈建议,请发起 issue
评论
匿名评论隐私政策
✅ 你无需删除空行,直接评论以获取最佳展示效果


